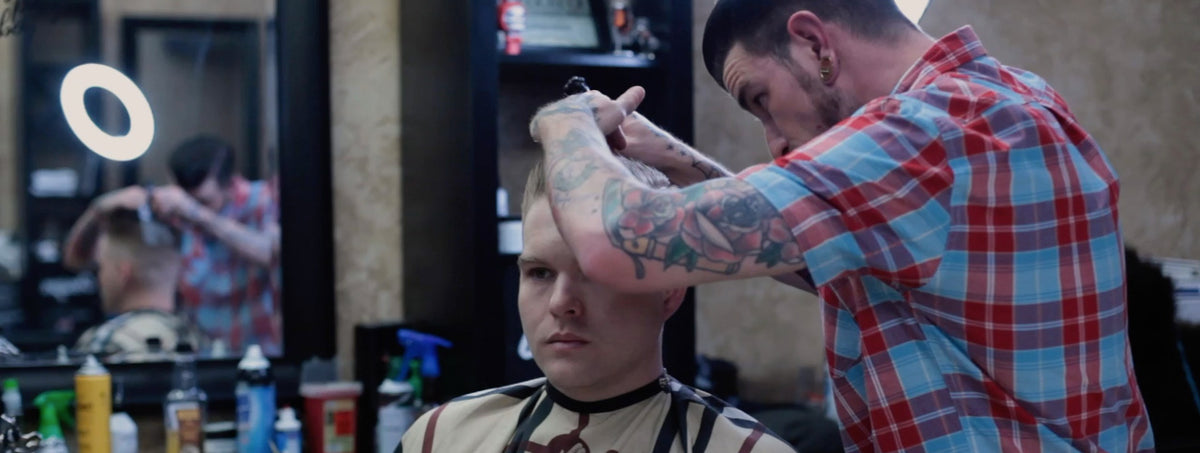
Easy Steps to Tying a Bow Tie and Windsor Knot
by LeighAnne Coleman
March 31, 2019
120 Comments
The dapper lifestyle comes with great responsibility and style. Most men can agree that one of the most important parts of your outfit is your tie and let's be honest, a pre-tied bow tie or tie just doesn't look the same as a hand-tied one.
Bow ties and ties are meant to add character and flair to your outfit and spending the extra time fixing your tie up yourself can make all the difference. With that being said, we've constructed the perfect step-by-step guide to show you how to make the perfect tie. This isn't just an important life skill; it's also a rite of passage into manhood.
Before you start receiving compliments, you have to learn the basics. So, let's dive in.
Step 1: Take the long piece of the tie and hang it flat around your neck. You should pull one side of the tie down a little longer (roughly 1.5 inches longer).
(We have provided sketches to better help in the process).
Step 2: Bring the longer side across your neck, making sure the tie is as close to your neck as you can get it with it still being comfortable.
Step 3: Bring the longer side underneath the shorter, creating a simple and loose knot.
Step 4: Take the bow tie part of the shorter piece and actually form the bow by folding it down. This bow should be pretty centered on your neck where you'd like it to lay.
Step 5: Pull the other end (the longer side) over the front of the now formed bow.
Step 6: Fold the longer side into a bow and pass it through the low of the shorter side. (See picture for better understanding).
Step 7: Begin pulling one side through the loop without pulling all the way through. This is to form the back side of the bow tie.
Step 8: Tighten the front part of the knot by pulling opposite sides of the bow together. Next, pull the front left and back right section of the tie to tighten, and the front right and back left end apart to loosen the tie.
...
Bow ties make a great addition to any outfit, but what about just keeping it simple? Simplicity needs some attention, too. We wouldn't just leave you hanging with a bow-tie. So before you leave here, we also wanted to show you how to quickly piece together a regular tie.
This means a classic suit-and-tie look, so let's dive in to what most people know as the "Windsor Tie".
Step 1: With the wide end of the tie on the right and the narrow end (or small end) on the left, rest the tip of the small end slightly above your belly-button. This is, of course, going to vary depending on your height, length, and thickness of your tie.
Step 2: Pull the wide end of the tie back underneath the narrow end.
Step 3: Continue wrapping the wide side of the tie around the narrow while bringing it across the narrow end over and over.
Step 4: Pull the wide end up and through the back of the loop you have created.
Step 5: Hold the front of the tie knot with your index finger and bring the wide end of the tie downward, going through the front knot.
Step 6: Tighten the knot carefully by sliding the top end into the narrow side and pushing up. You can then adjust the knot accordingly and center the knot.
...
We hope this quick guide helped you. If you achieved your dream Bow-Tie or Windsor knot through this step-by-step guide, please post a picture to Instagram or Facebook and tag
@VintageGrooming and #VintageGroomingCo.
...
Use or Click Code: BOWTIEfor 17% OFF Your Next Order!
Share:
20 Responses
Leave a comment
LeighAnne Coleman
Author